
| Joined: | Thu Apr 19th, 2012 |
| Location: | United Kingdom |
| Posts: | 4754 |
| Status: |
Offline
|

As previously mentioned, replacing backgrounds was a frequent event while creating brochures back in the day. It was often necessary to give extra space around the product for text boxes/ slogans/logos etc. However leaving white space wasn't sexy enough so we often added a complimentary background.
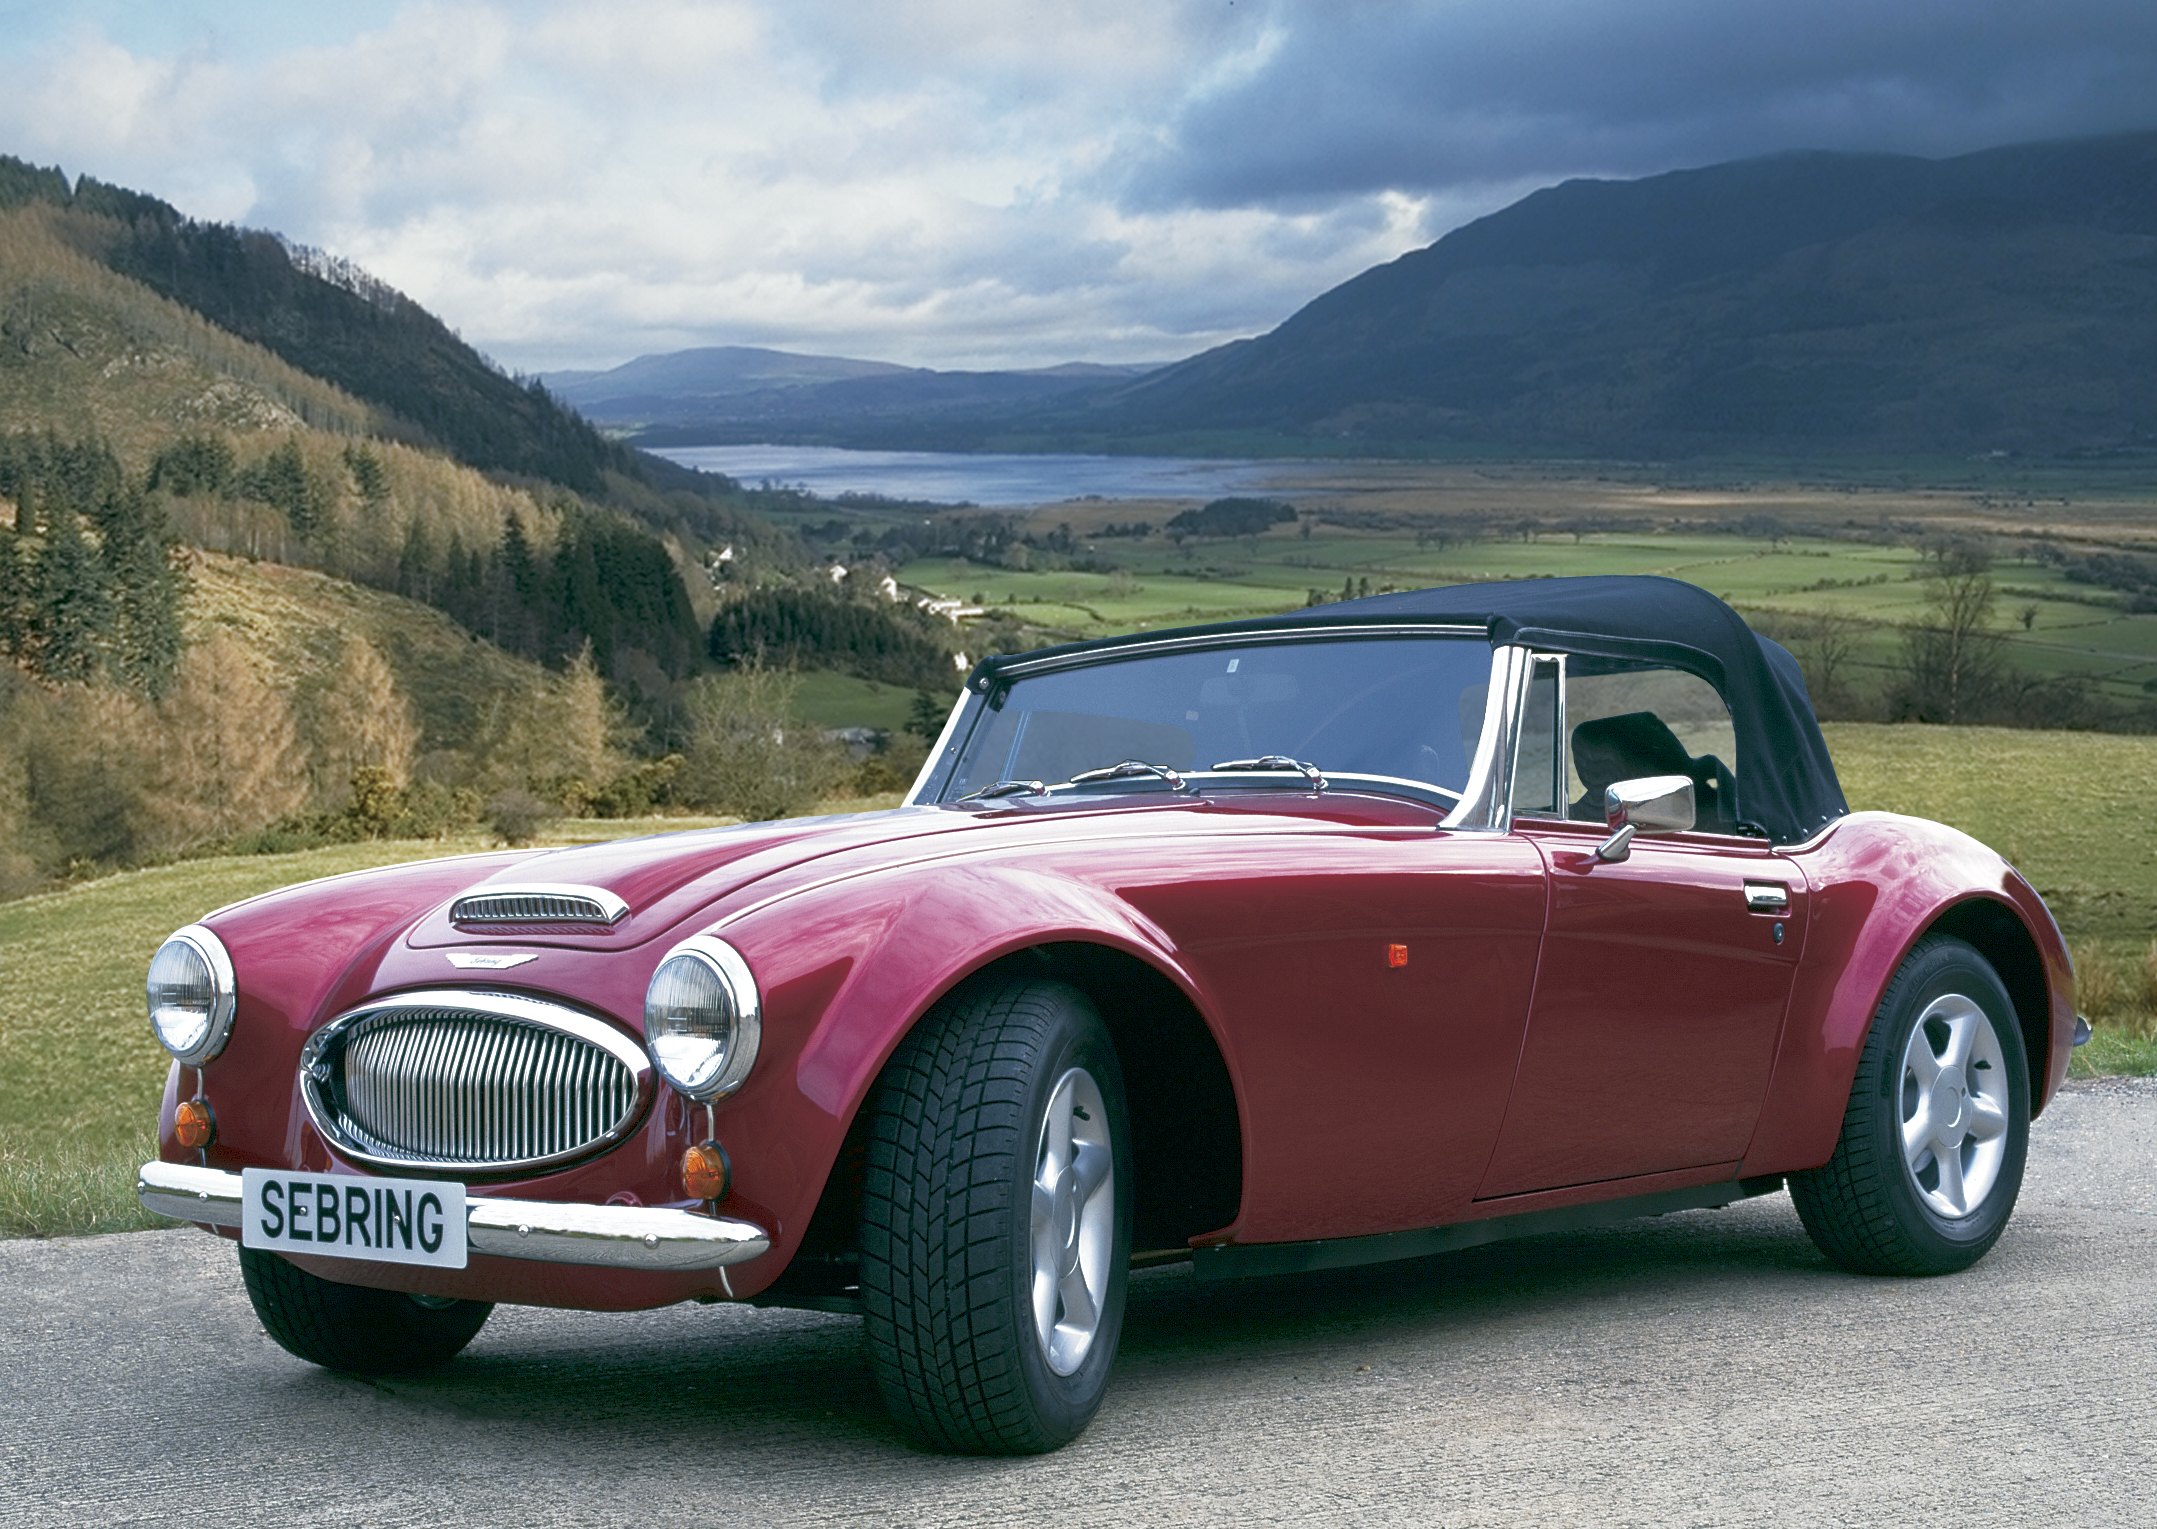
This photo of a custom built car was a rush job. The car (the only complete fully built model they had in the workshop) was being collected by the purchaser the next morning, so we only had the afternoon to photograph it ...and it couldn't be driven anywhere !!!!!
So the back yard of the garage was the only location....and yet they wanted lots of location scenery shots with the car for the brochure.
This was before digital cameras. Medium format negative scanned, manually masked and the background ( a Lake District holiday photo courtesy of my wife I believe) was added to this one.
Click here to comment on this image.
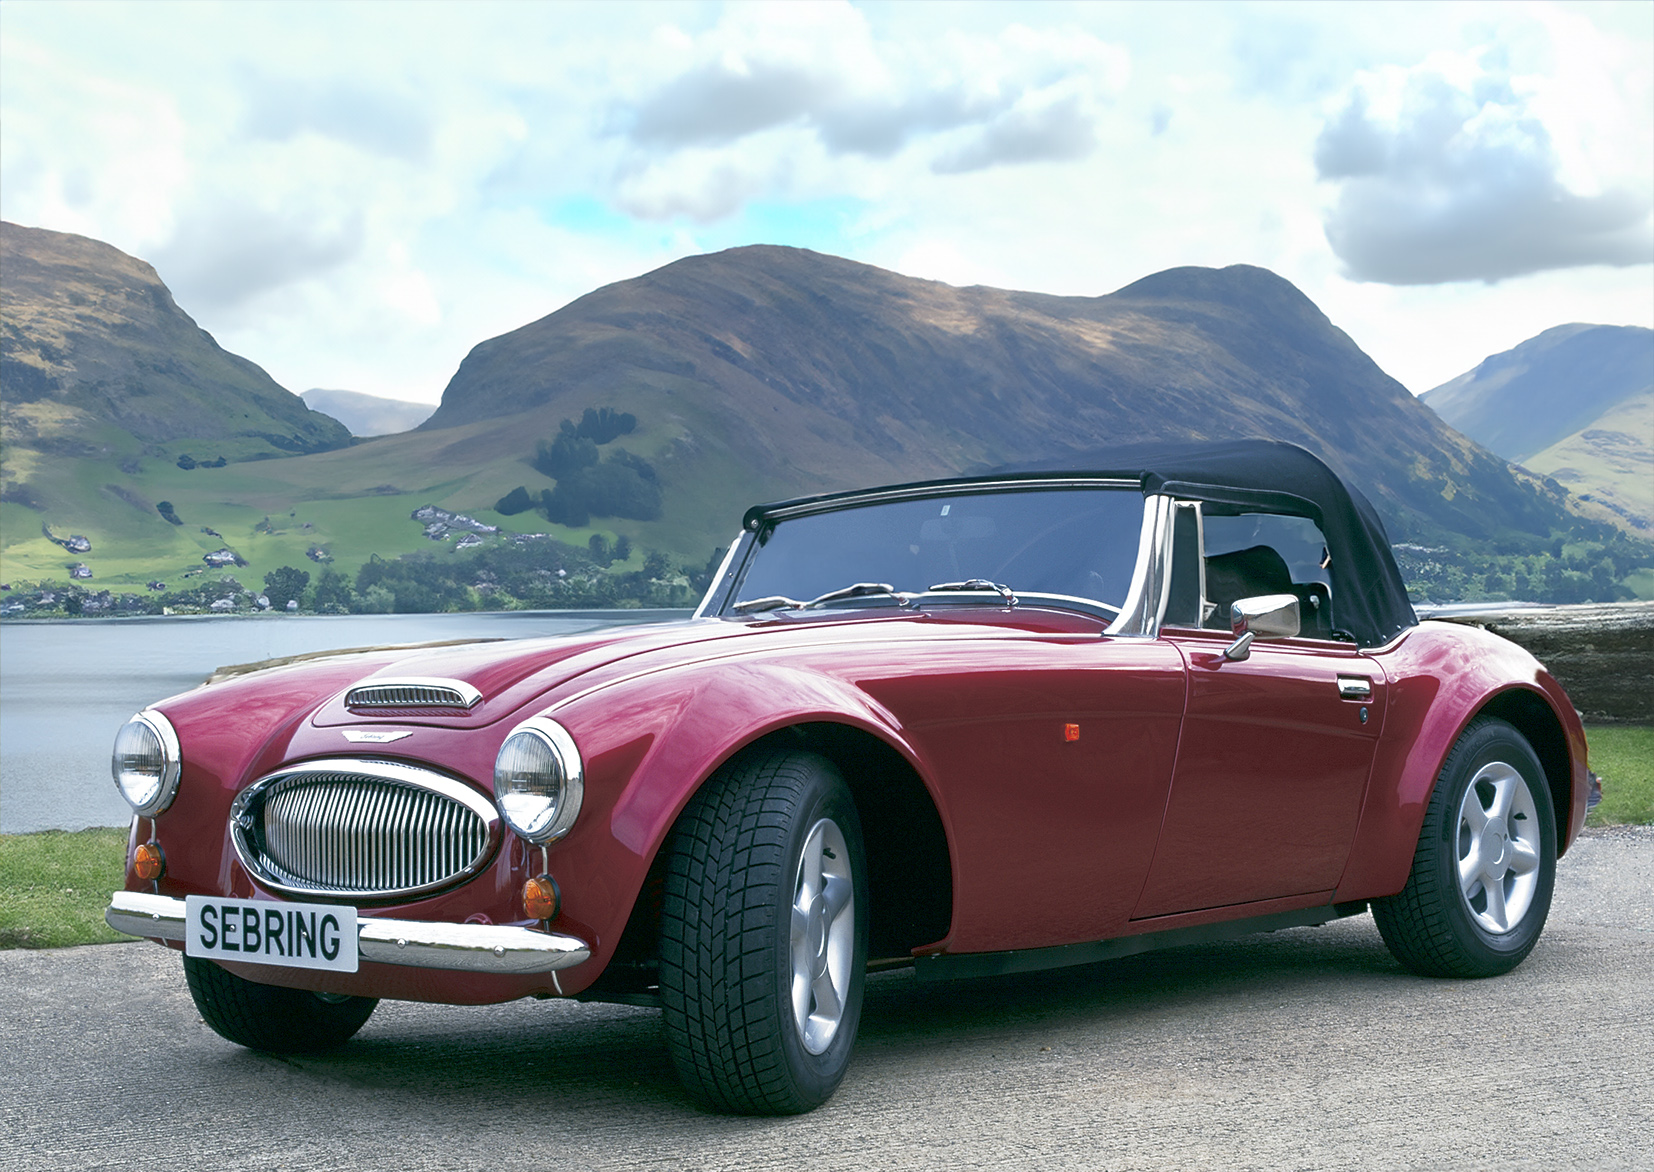
So today for fun, I decided to replace the background using smart Object masking and Generative fill with a phrase "Lake district landscape"
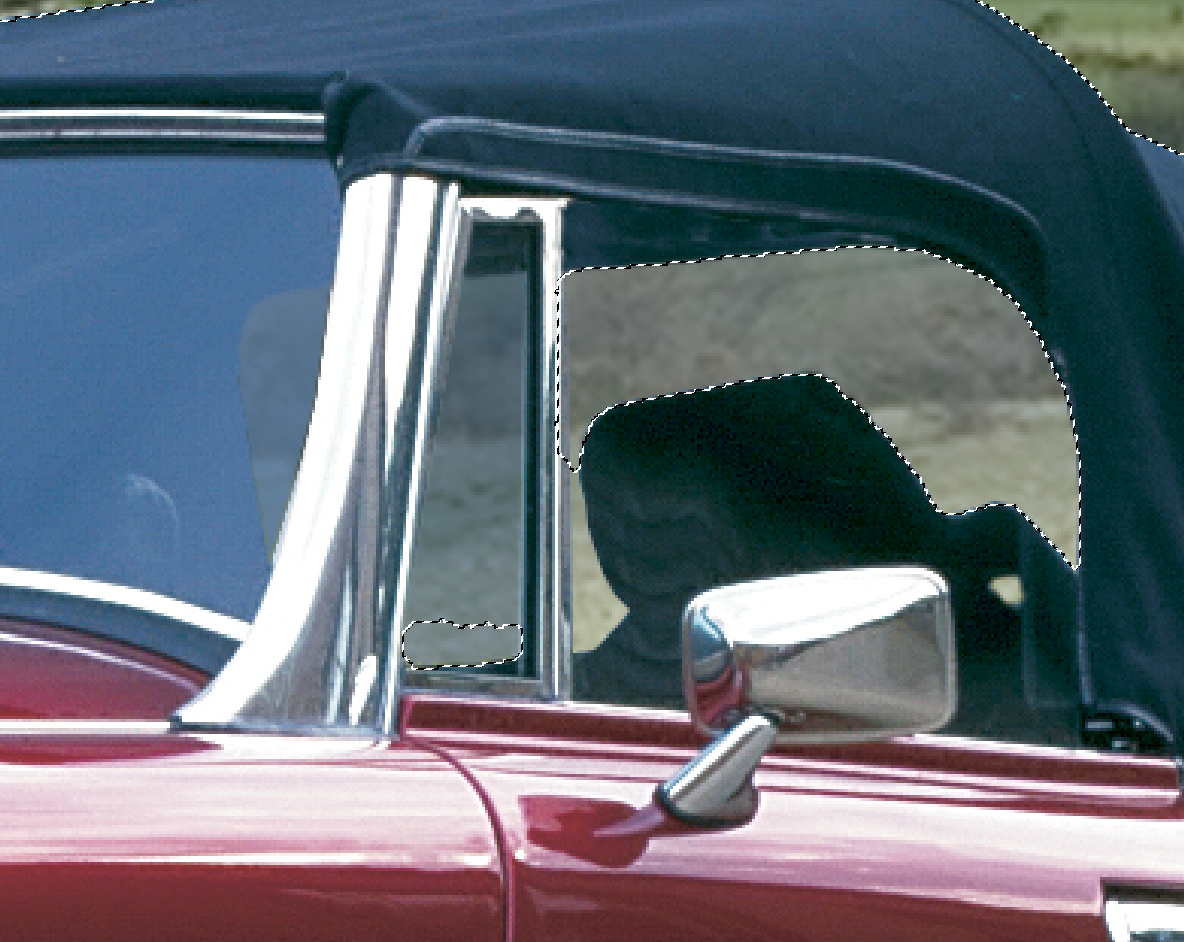
The smart object masking wasn't smart enough to include the 'see through' parts of the image....not surprising....It missed most of the quarter light, an area around the head rest and a see through the windscreen next to the pillar ...also on the other side (not shown in this close up).
I therefore manually included these areas in the mask but excluded the road.
Click here to comment on this image.
It generated an adequate image but the fill didn't include the areas I had manually added to the mask.
Click here to comment on this image.
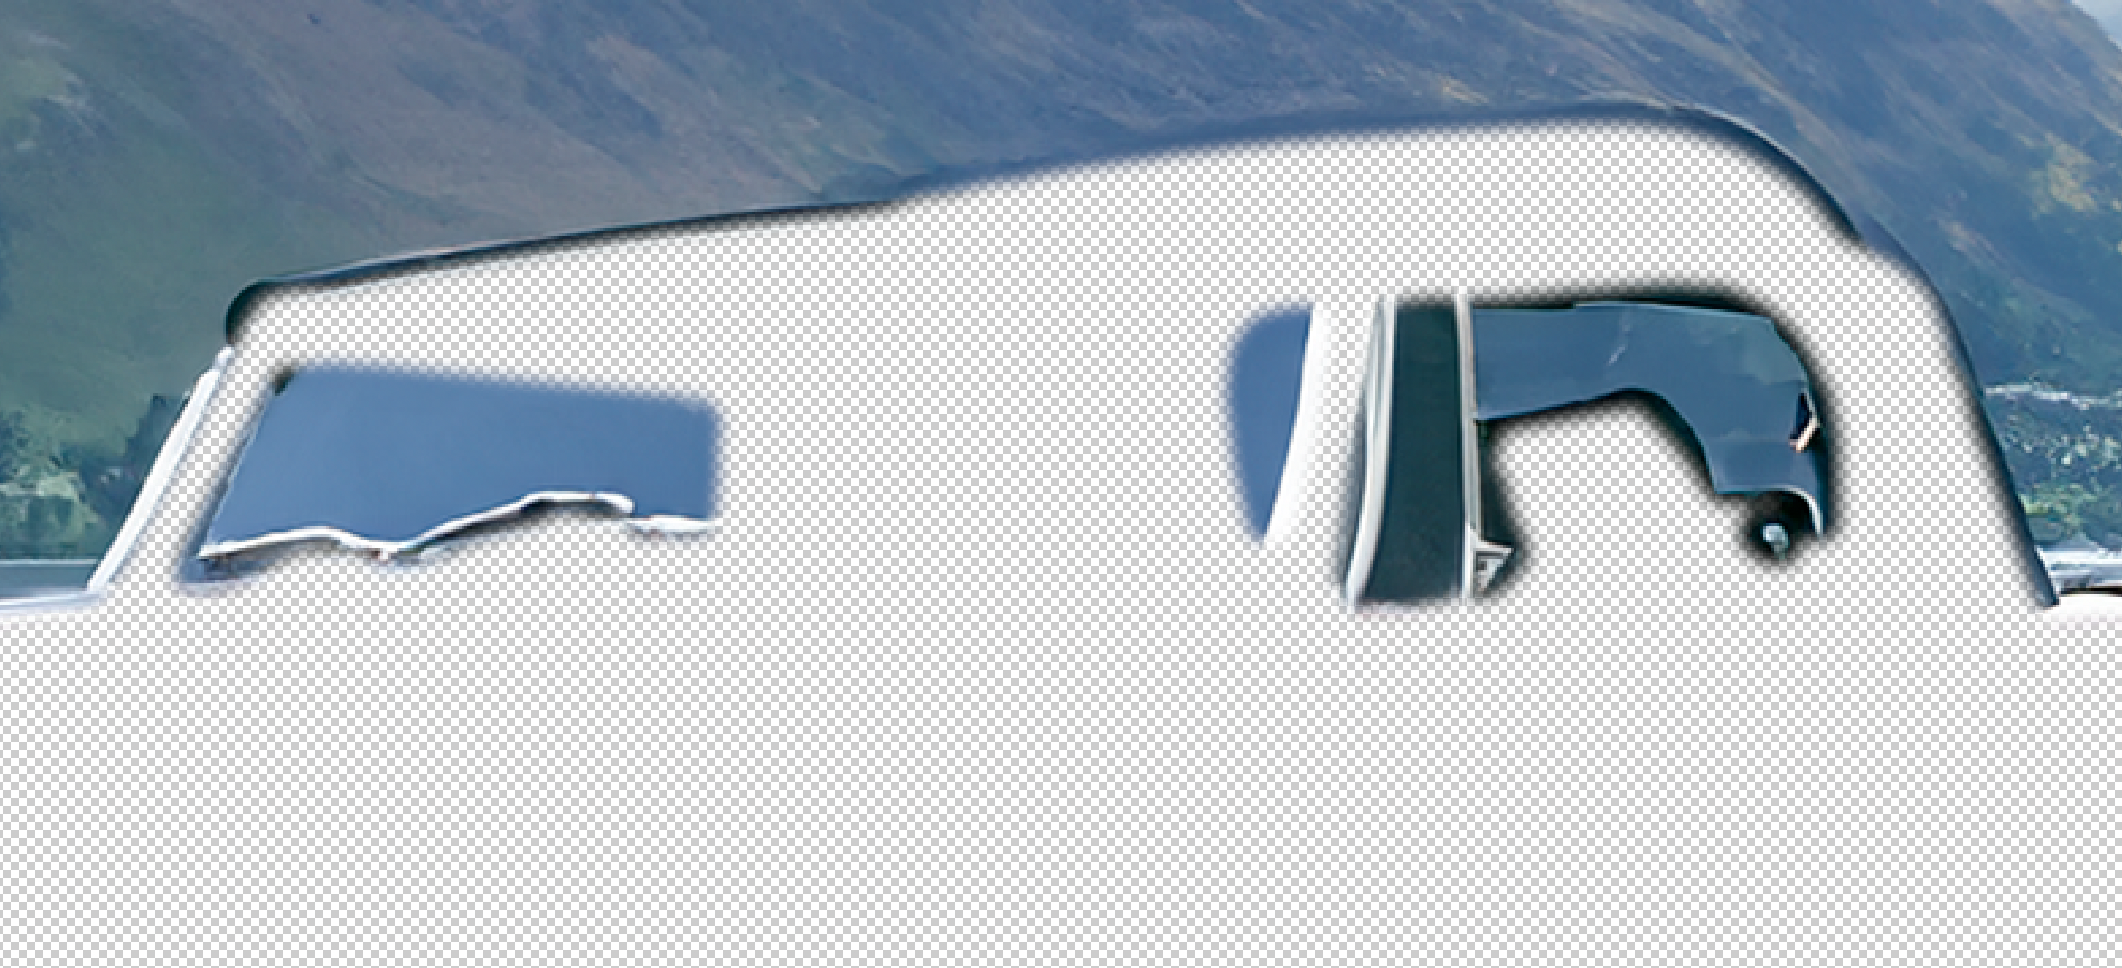
The strange thing is, all areas were included in the mask as you can see by the mask layer below....
Click here to comment on this image.
AI decided not to include them!!
As well as excluding manually added masked areas, AI also did some strange edge effects. It removed / trimmed areas around the front and back of the car as well as trimming the roof and 'fudging' the head rest area. (red dotted outlines compared to original photo)
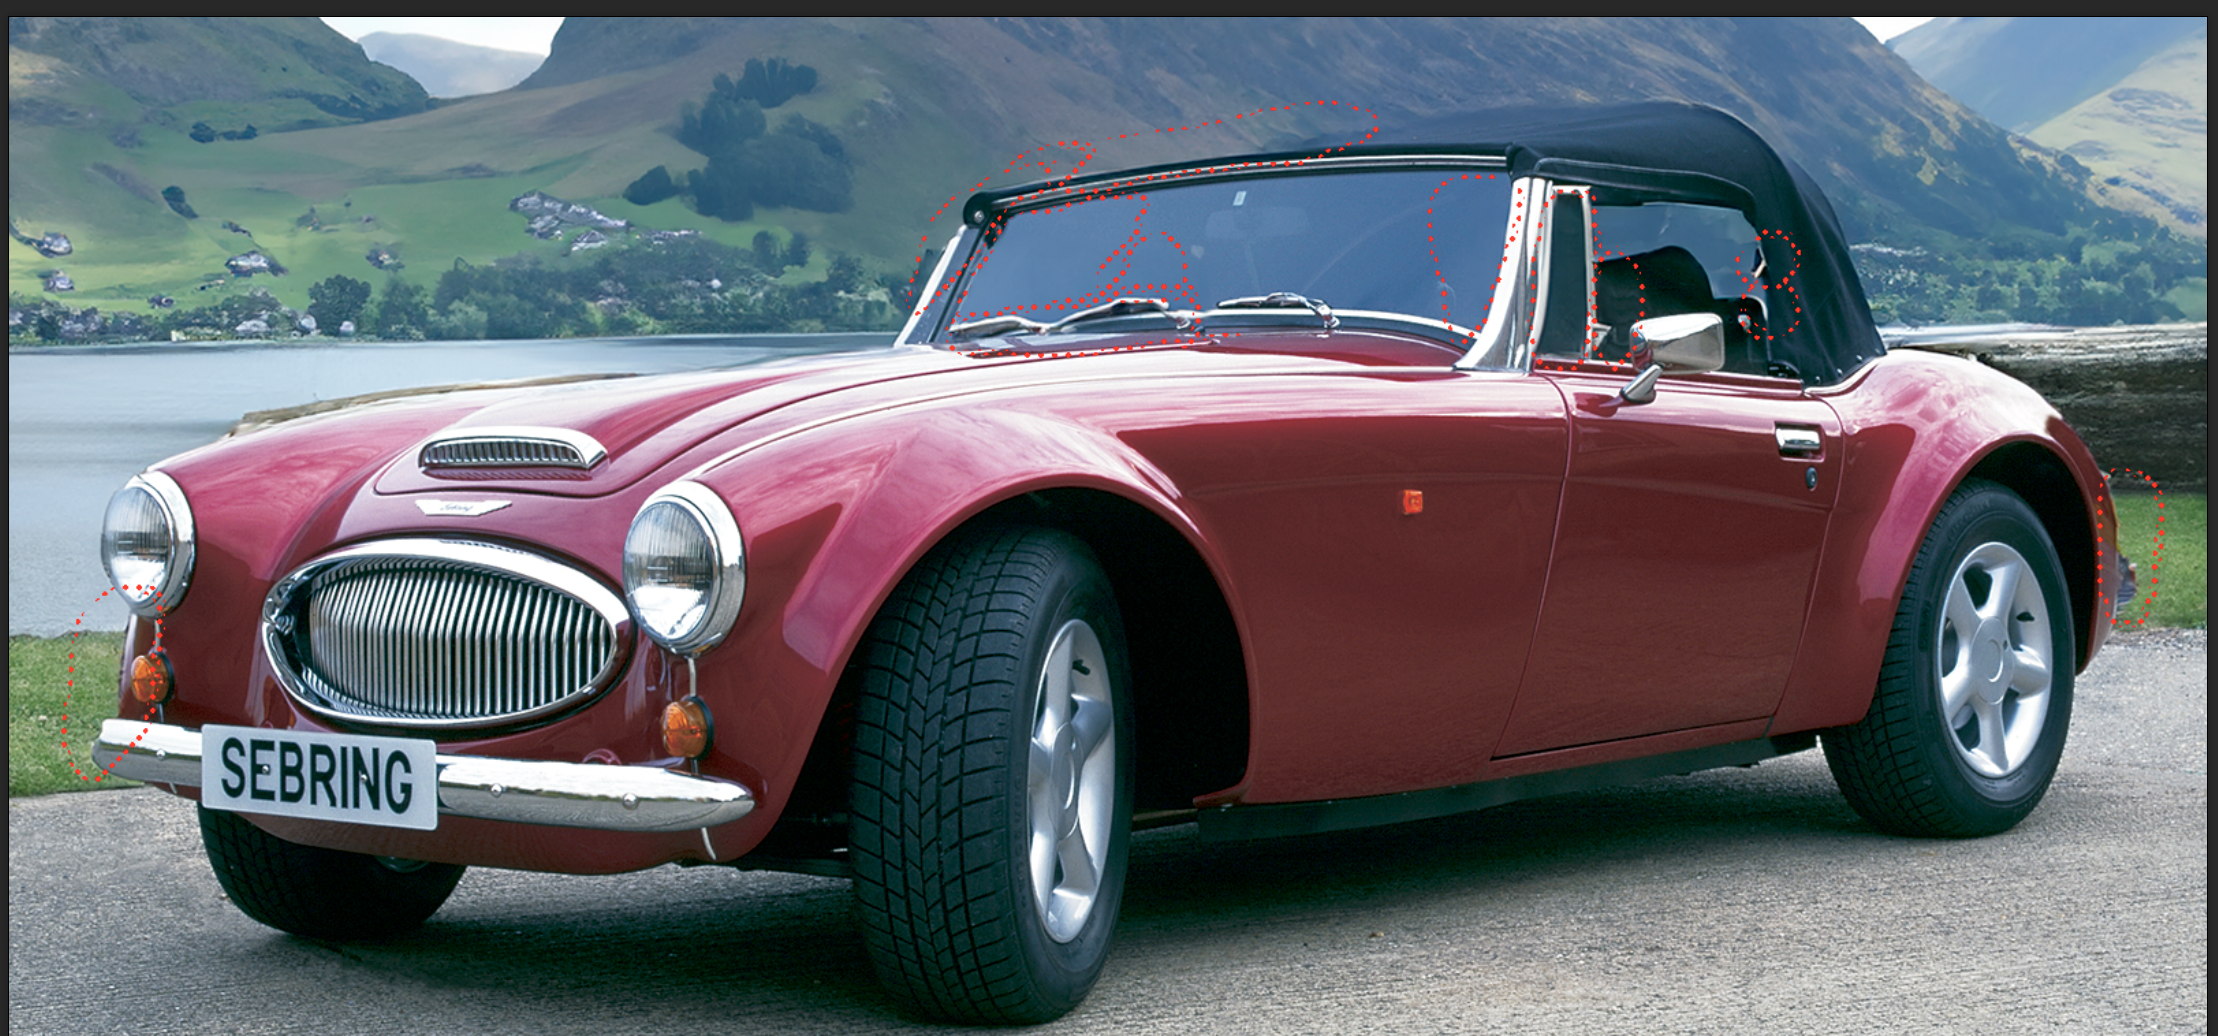
Click here to comment on this image.
Of course it will always be hard for ai to interpret the effect of multiple layers of glass and 'tone down' the background image in the areas were they occur.
I have also noted that in small discrete isolated areas of a mask (like around the headrest in this image) AI seems to get confused trying to squeeze in detail that's a bit unreal.
As mentioned previously, one could over lay the original cut out to recover the outline more faithfully....but not so the see through parts within the main outline.
My final take from this is this is a LONG way from hands free photo editing.
It's a bit like getting a child to paint a picture in the lounge. You need to make sure you've covered everything you don't want messed up and still stand over them to prevent random flicks and creative correction to the sofa or coffee table.
Graphic designers and photo manipulators are safe for a while.

I would just add that you can edit the smart mask selection criteria, so maybe this performance could be improved ......by ME or YOU adjusting the settings manually.
Last edited on Thu Jan 18th, 2024 15:38 by
____________________
Eric